
How to Build a Gaming PC in 2026: The Complete Walkthrough
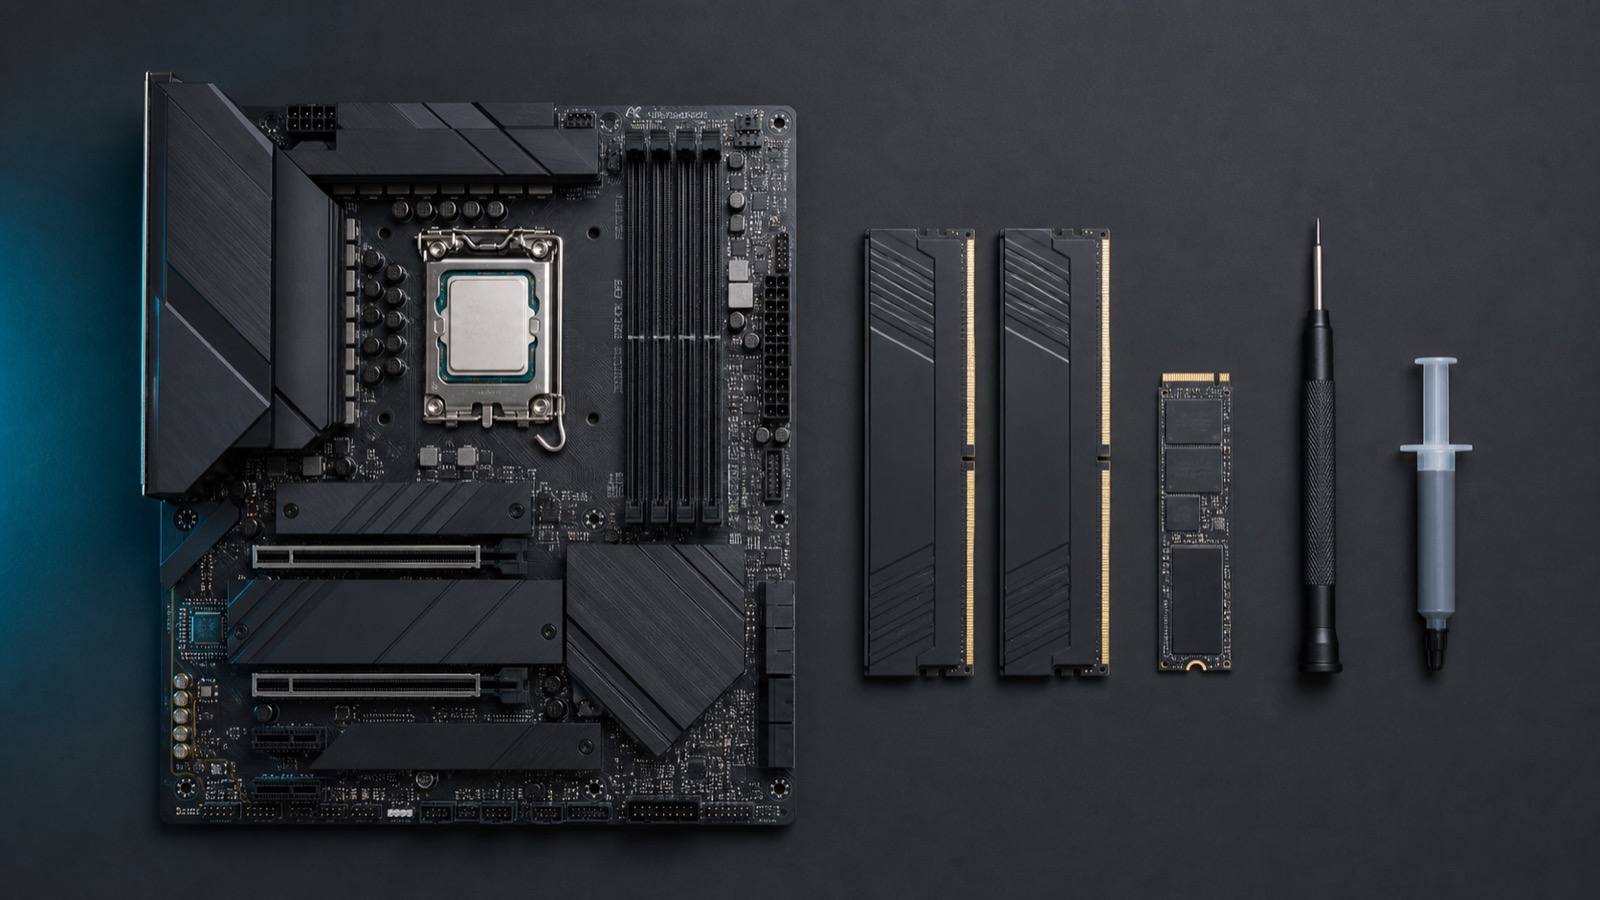
This guide is for the first-time builder who has watched three YouTube videos, read two Reddit threads and is now more confused than when they started. Building a PC in 2026 is genuinely easy: parts are keyed so they only fit one way, cases have cable-routing channels molded in, and the whole job takes about two hours with a single Phillips-head screwdriver. The only real way to fail is to rush. So don't rush.
We'll use a roughly $1,200 build as the reference, but the assembly steps are identical whether you spend $800 or $2,500.
The parts list
Prices move weekly, so treat this as a template rather than scripture. The "what to look for" column is the part that won't go stale.
| Component | Example pick | What to look for |
|---|---|---|
| CPU | AMD Ryzen 5 9600X | 6+ modern cores; Ryzen 9000 or Core Ultra 200 series. The GPU matters more for gaming — don't overspend here. |
| CPU cooler | Thermalright Peerless Assassin 120 SE | A $35 dual-tower air cooler beats most budget liquid coolers and can't leak. |
| Motherboard | B850 (AM5) board | Match the socket to the CPU. You need two M.2 slots and BIOS flashback, not RGB. |
| Memory | 32 GB DDR5-6000 CL30 (2×16 GB) | Two sticks, not one. 6000 MT/s is the AM5 sweet spot. |
| Storage | 2 TB NVMe Gen4 SSD | Gen4 is plenty — Gen5 runs hot and games can't tell the difference. 2 TB minimum in 2026. |
| Graphics card | GeForce RTX 5060 Ti 16 GB or Radeon RX 9060 XT 16 GB | 16 GB of VRAM. At this budget an 8 GB card is a trap that ages badly. |
| Power supply | 750 W 80+ Gold, ATX 3.1 | Known brand, native 12V-2×6 cable. Never cheap out on the part that can kill every other part. |
| Case | Any mesh-front mid-tower | Mesh front panel, room for your GPU's length, and at least two included fans. |
Assembly, step by step
1. Prep and static safety
Work on a wooden or laminate table, not carpet, and ground yourself every few minutes by touching bare metal — your plugged-in, switched-off PSU works. Unbox everything first and keep the motherboard box nearby: it's the perfect non-conductive work surface for the next step.
2. CPU, cooler, RAM and M.2 on the bench
Do all four jobs while the board is still outside the case, sitting on its box. Lift the socket arm, drop the CPU in using the corner triangle as your guide — it should fall in with zero pressure — then close the bracket. Snap the RAM into slots A2 and B2 (second and fourth from the CPU), slide the M.2 SSD in at a slight angle and secure it, then mount the cooler with a pea-sized dot of thermal paste. This is the fiddliest hour of the build, so do it while you have elbow room.
3. Mounting the board
Check that the case's brass standoffs match your motherboard's mounting holes — a standoff under bare PCB is the classic way to short a board. Snap the I/O shield in from inside the case until it clicks (or smile, because your board has one pre-attached). Lower the board in, align the ports with the shield, and screw it down in a star pattern, snug but not heroic.
4. PSU and cable routing
Mount the PSU fan-down if the case has a filtered bottom vent, fan-up otherwise. Before tightening anything, route the 24-pin motherboard and 8-pin EPS CPU cables through the back of the case to where they plug in. Connect the front-panel header (the fiddly power/reset/LED pins — the manual has the map), USB 3.0, USB-C, HD Audio and the case fans. Leave GPU power for last.
5. The graphics card
Remove the top two PCIe slot covers, open the plastic latch on the top x16 slot, and press the GPU in until it clicks. Screw the bracket down, then plug in its power connector fully — a half-seated 12V-2×6 plug is a genuine fire risk, so push until there's no visible gap and route the cable with a gentle bend, not a sharp kink.
6. First boot checklist
Before you press the button: monitor plugged into the GPU, not the motherboard; PSU switch set to "I"; both RAM sticks fully clicked; 24-pin and 8-pin CPU power seated. Press power. Fans spin, debug LEDs cycle, and after up to a minute of silence — see below — you should get a BIOS screen. Congratulations: the hard part is over.
When it doesn't boot
No POST, no display: work the checklist again. The single most common cause is a forgotten or half-seated 8-pin CPU power cable at the top-left of the motherboard — it is not the same as a PCIe cable, and forcing the wrong one in is a bad afternoon.
Everything runs but the screen stays black for a minute: that's probably DDR5 memory training, not a failure — first boots with new RAM can take 60–90 seconds while the board tests timings. Wait before you panic. If it never posts, reseat the RAM; a stick not fully clicked in is failure cause number two.
Debug LEDs: modern boards have four lights labeled CPU / DRAM / VGA / BOOT; whichever stays lit is your suspect list narrowed to one item. Best ten dollars ever baked into a motherboard.
Software, in order
Once you're in the BIOS, flash to the latest version first — most 2026 boards update from a USB stick in two clicks. Then enable XMP (Intel) or EXPO (AMD) so your RAM runs at the 6000 MT/s you paid for; it runs at a slow default until you do. Install Windows from your USB stick, then in order: chipset drivers from AMD or Intel's site, a clean GPU driver install, Windows Update. Benchmark something you own before you buy anything new — it's the best feeling in the hobby.